
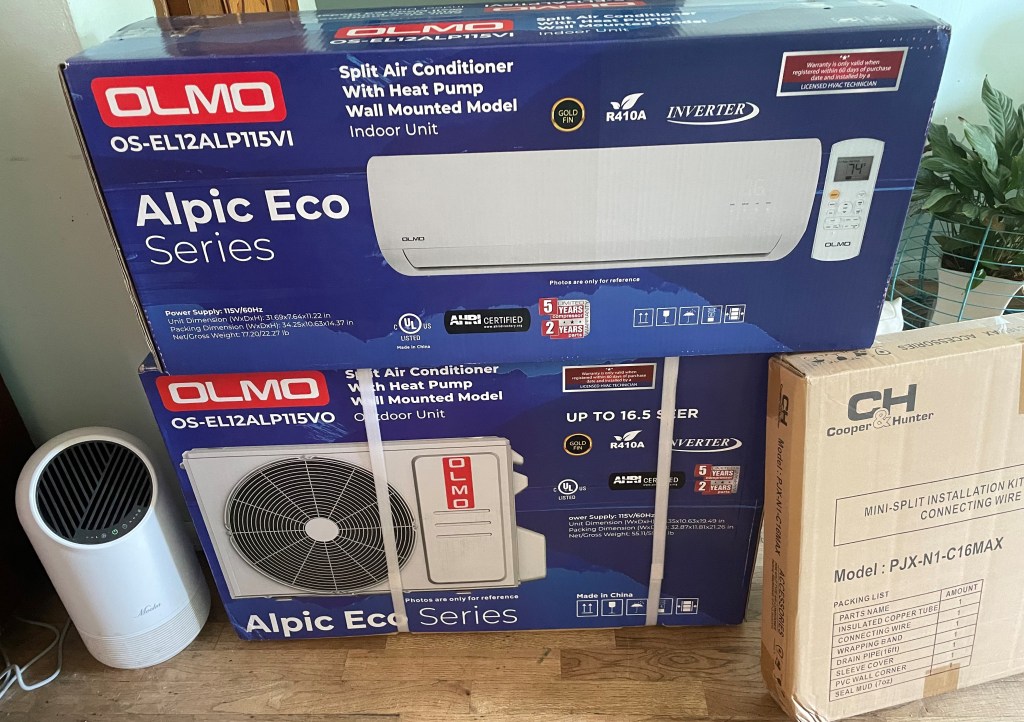
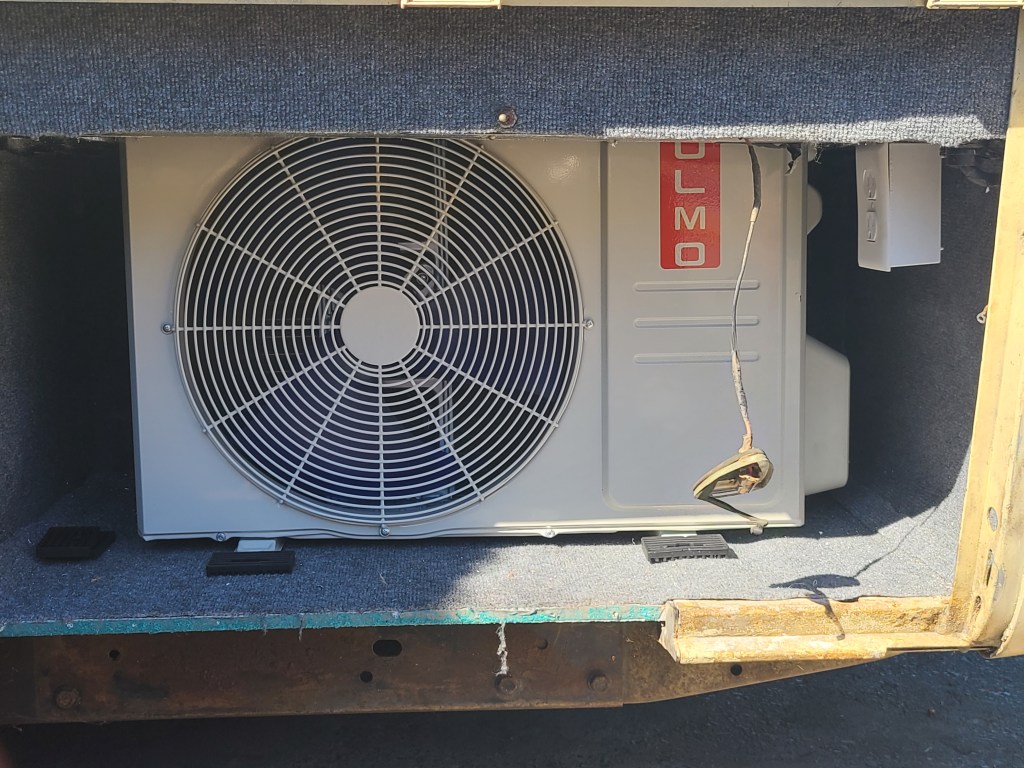
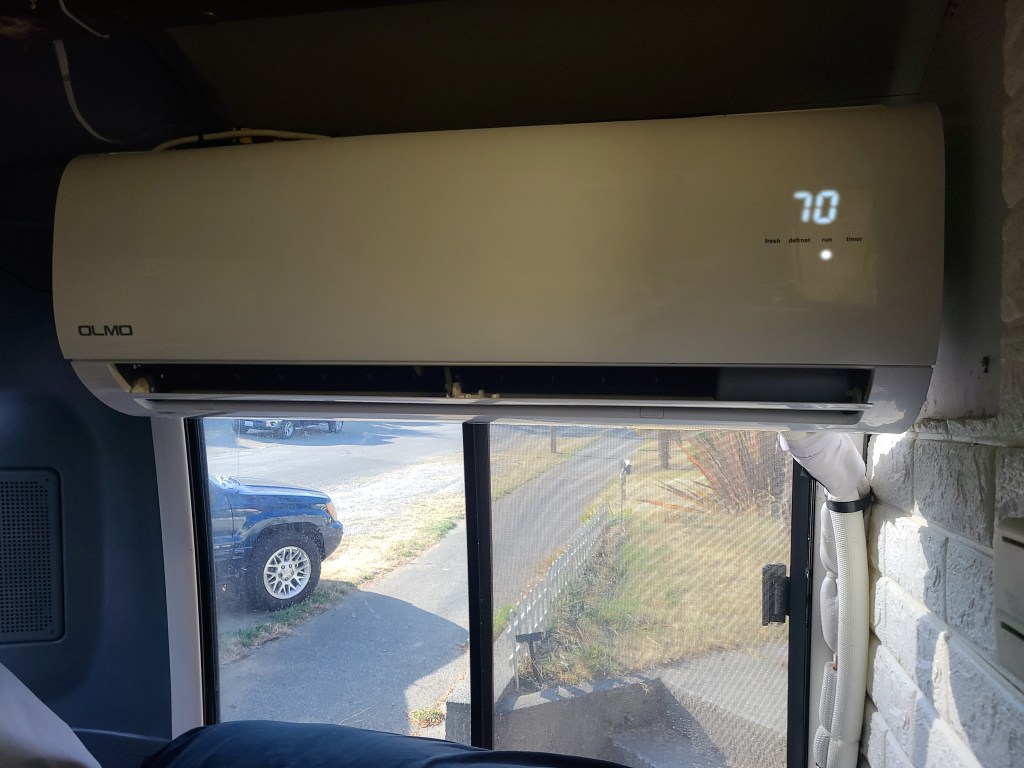
When you have a 47 year old motorhome you prefer to update or replace things on your schedule instead of something quitting on it’s own time leaving you scrambling to catch up. We knew it was only a matter of time before the original roof air conditioner retired itself and, while it still works, it is a noisy power guzzler. After a lot of research and watching an untold amount of YouTube videos we decided on an OLMO Alpic 12,000 BTU, 110/120V Ductless Mini Split Air Conditioner Heat Pump instead of a new roof air unit. A mini split is a multipurpose unit, an air conditioner, heater, dehumidifier and air purifier which is very economical as far as wattage and is quiet as a church mouse. There is a link below.
Our goal was to have an efficient, low energy consumption unit so we can be self sustainable (for when the zombies attack or, more likely, we are boondocking!). We had previously removed the large propane heater in the GMC because of it’s amperage use and were using a Little Buddy heater on cold mornings. While the OLMO doesn’t have the highest SEER rating, the dimensions of the condenser on this unit was key. There were no videos on installing one in a GMC Motorhome, so we took our time looking at all the sizes and then throughout the motorhome to decide where we would want to install it.
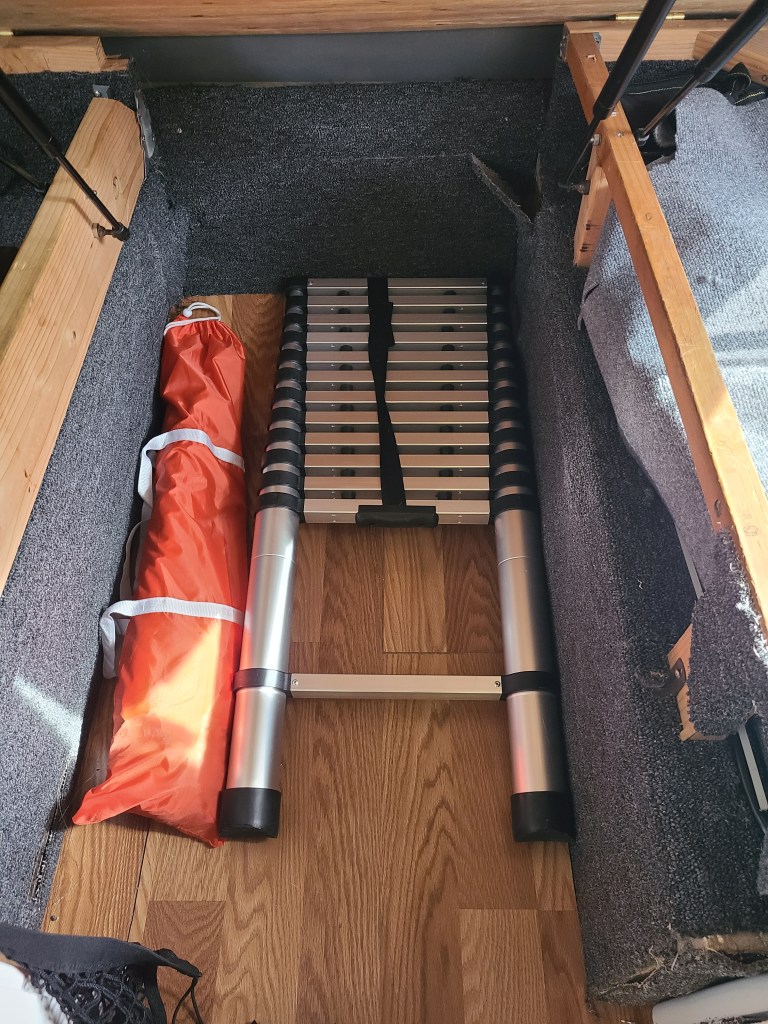
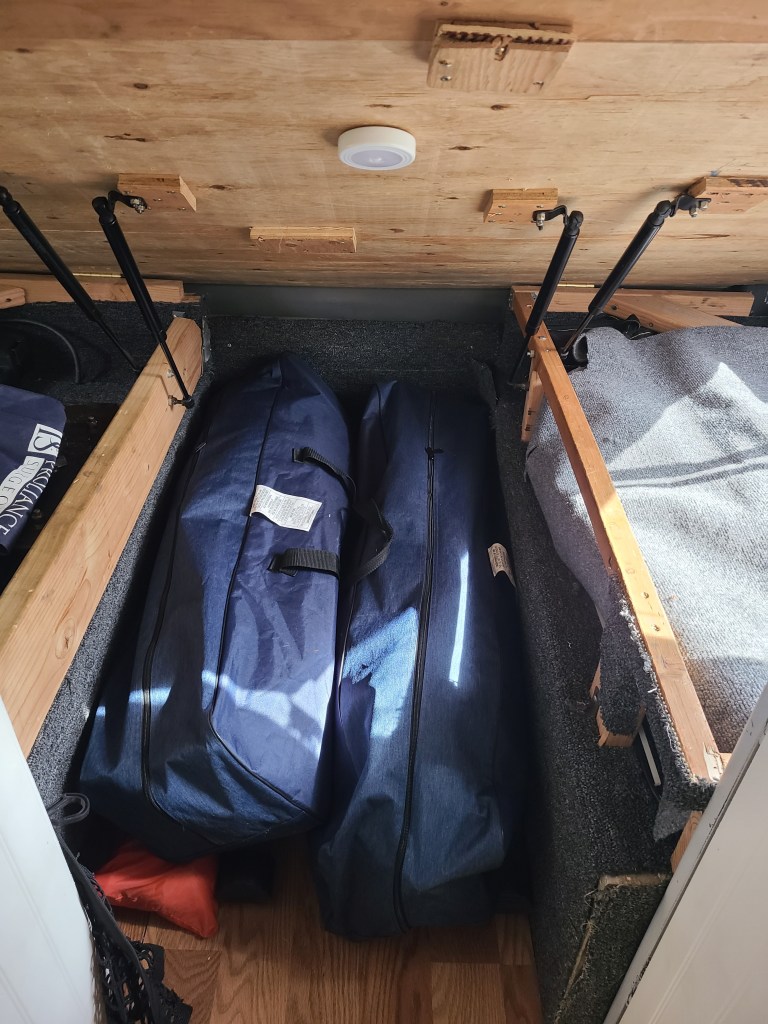
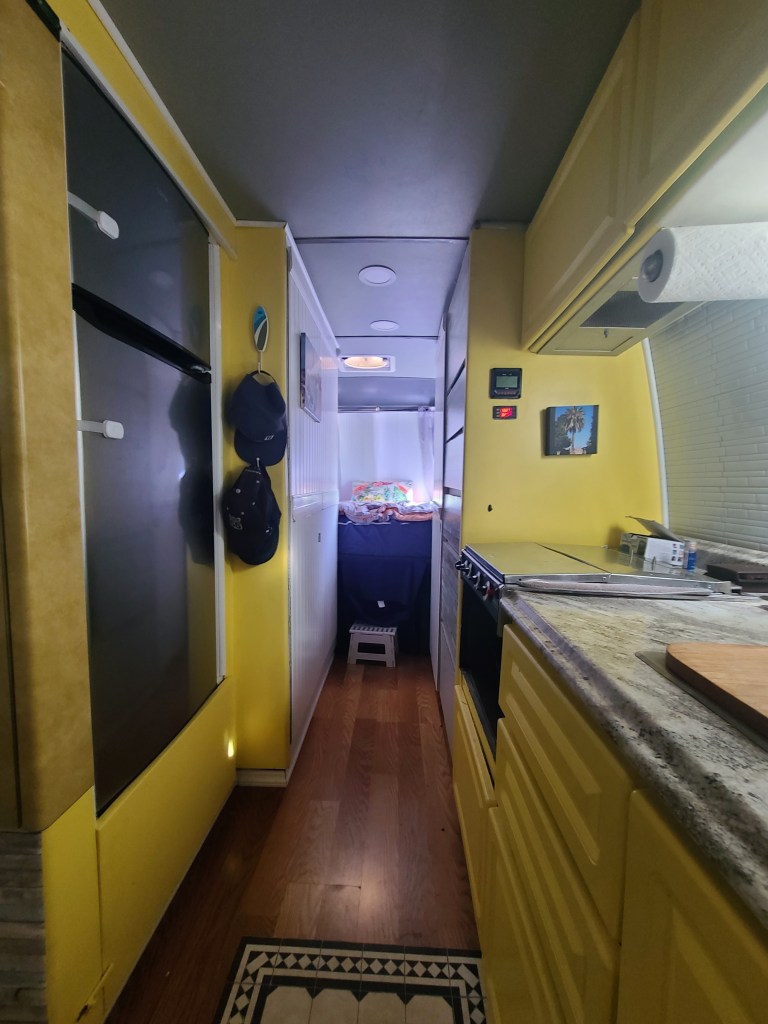
Our Eleganza 2 has approximately 150 square feet of livable space once you discount the cabinets, counters, bathroom, closet, etc. making our decision to put the unit in the left rear cabinet an easy choice with the 500 or so square feet the unit should cool and/or heat. If we find the airflow getting to the living space is not as efficient as we hope, we will concoct a curved screen of sorts to guide the air forward. Our two Maxxfans should enhance the system. Thankfully we had the space available to install the condenser close to where we want the unit to go, and avoided routing the hoses throughout the motorhome AND not have to strap it to the rear bumper, not a look we are striving for!
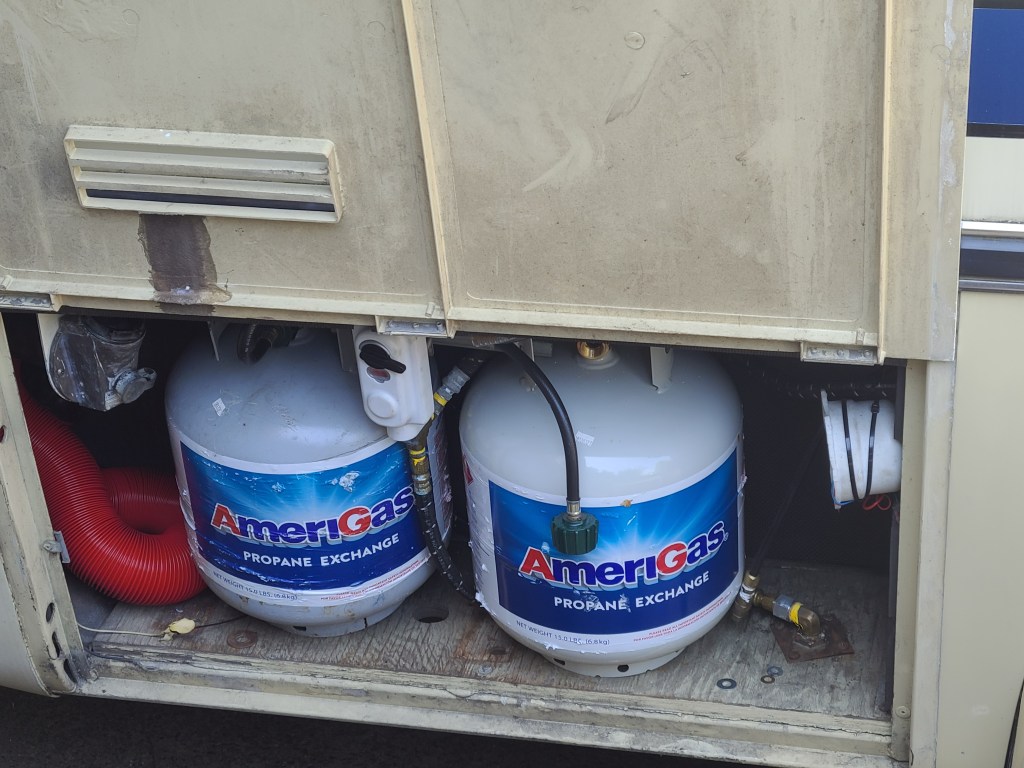
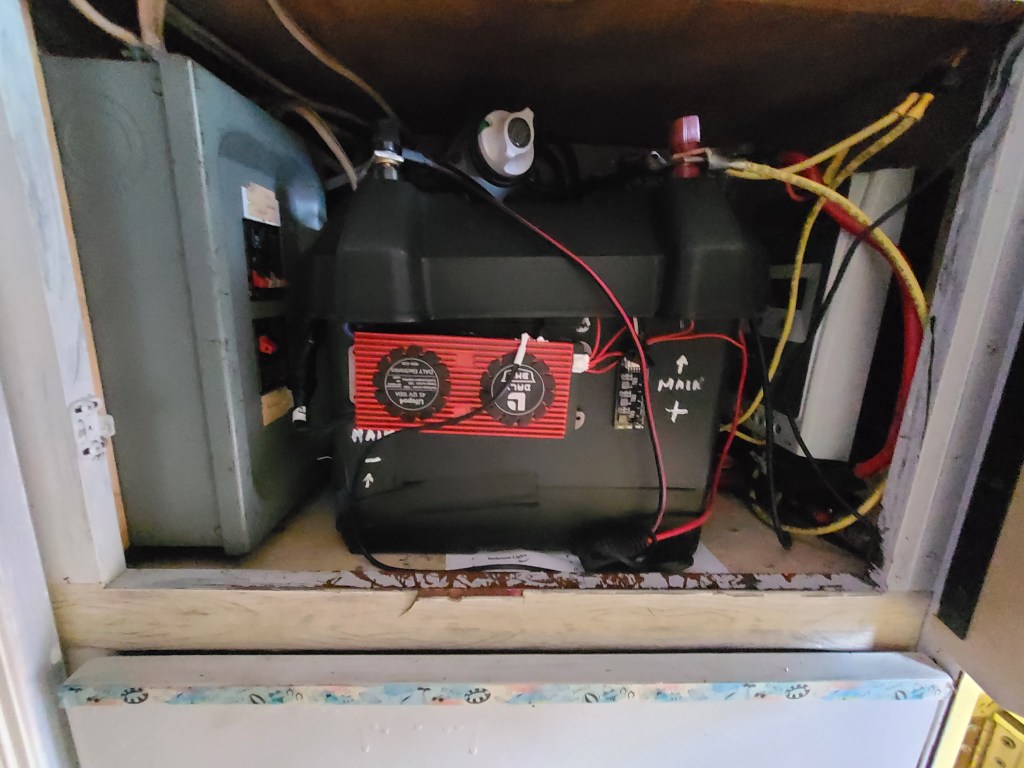

We have previous blog posts explaining how we have not only replaced the original propane tank with two exchangeable 20 pound tanks but removed the original Onan generator and house batteries. The lithium batteries we built to replace the house battery are in the electronic distribution cabinet next to the closet and we have a portable dual fuel generator. The two solar panels on the roof top charge the lithium batteries, all working together to power ‘the home’ when we are not plugged in or using the generator.
Our Eleganza has approximately 150 square feet of livable space once you discount the cabinets, counters, bathroom, closet and the rest making our decision to put the unit in the left rear cabinet an easy choice with the 500 or so square feet the unit should cool and/or heat.
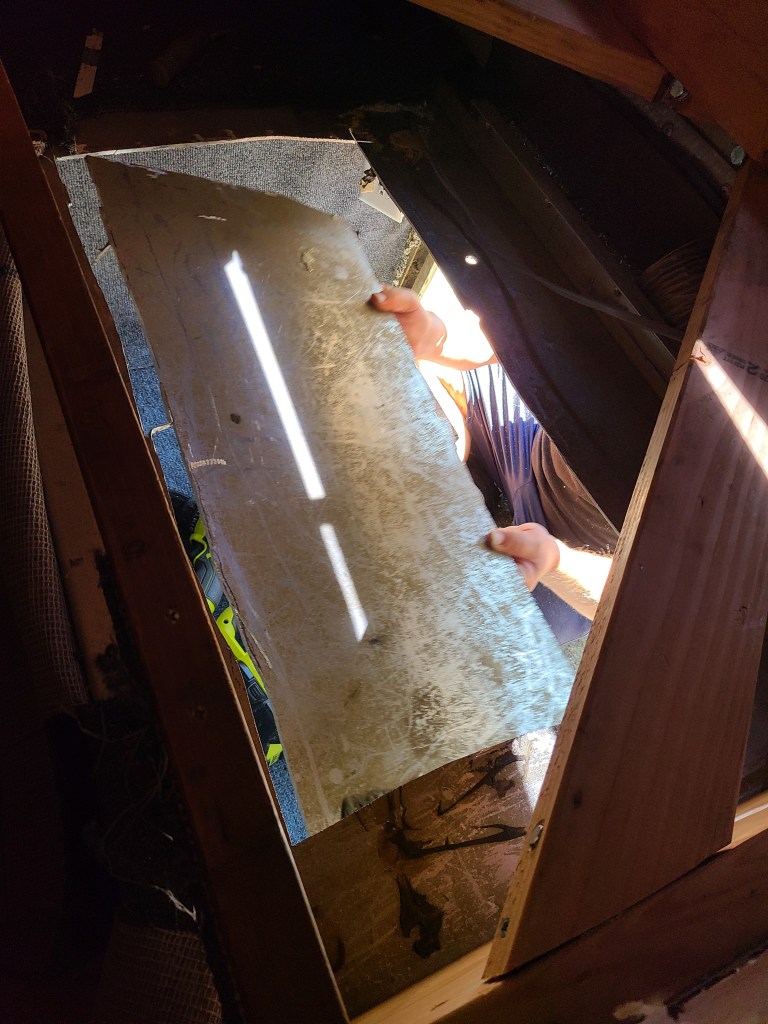
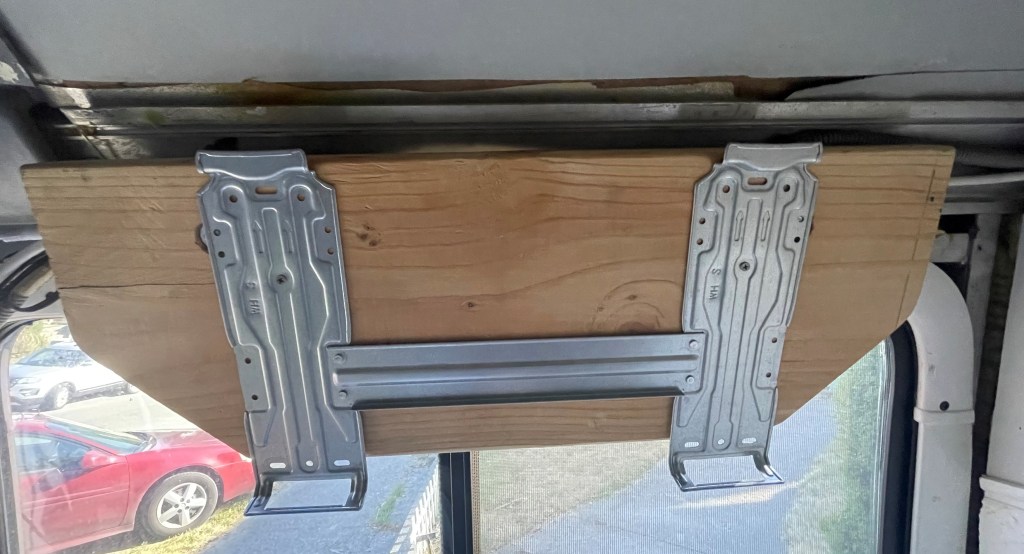
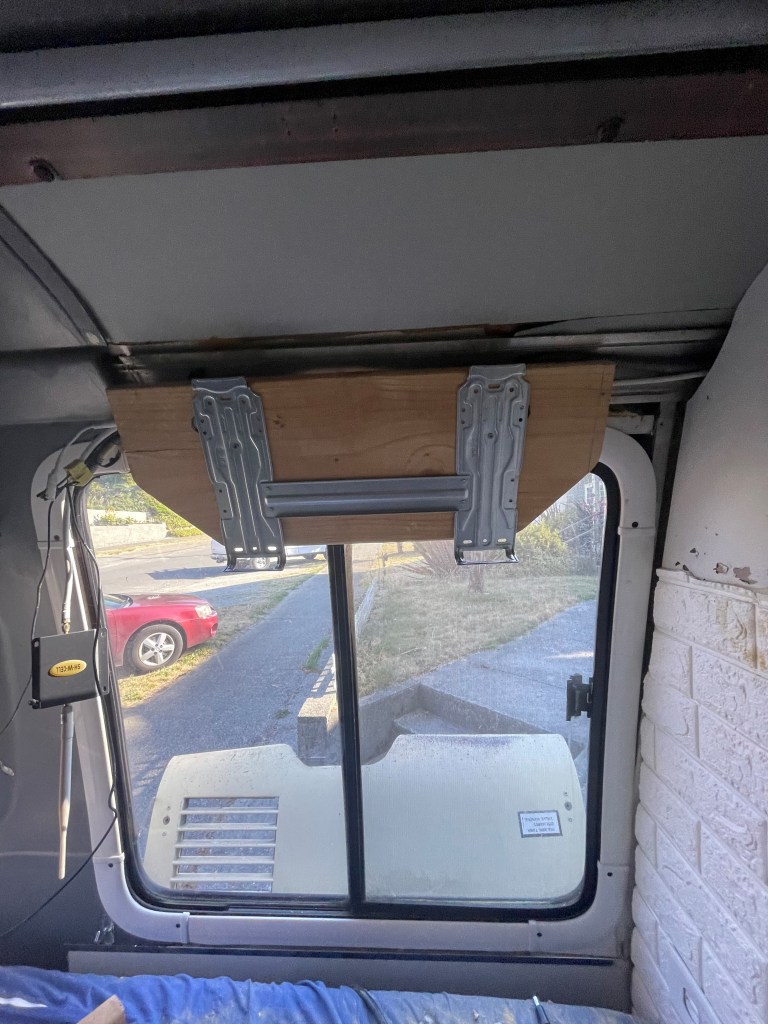
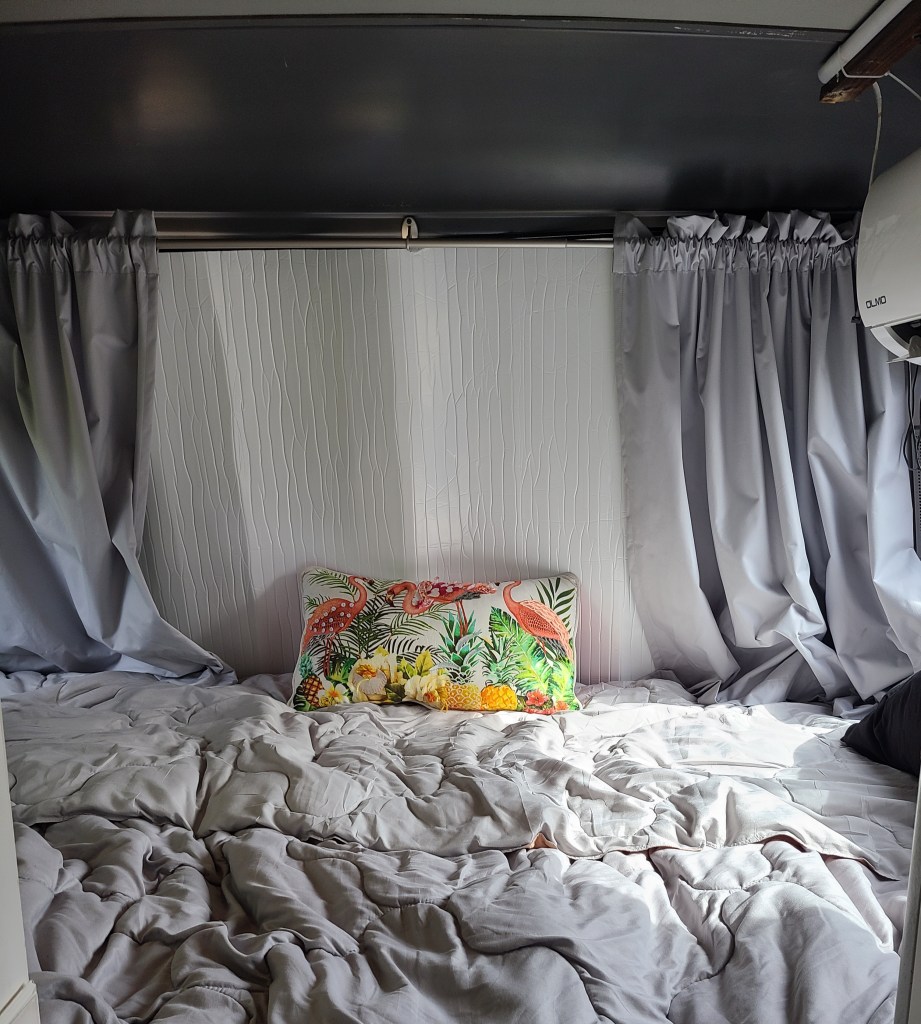
If you have a GMC Motorhome, you know the curve of the walls kicks things up a notch when you are mounting something – from curtains to shelves to an air conditioning unit. We used the rear cupboard mounting bolts to install a bracket. We had intended to put it in the cabinet, as shown in the video, but the louvers open from the front bottom so we had to make a change for airflow.
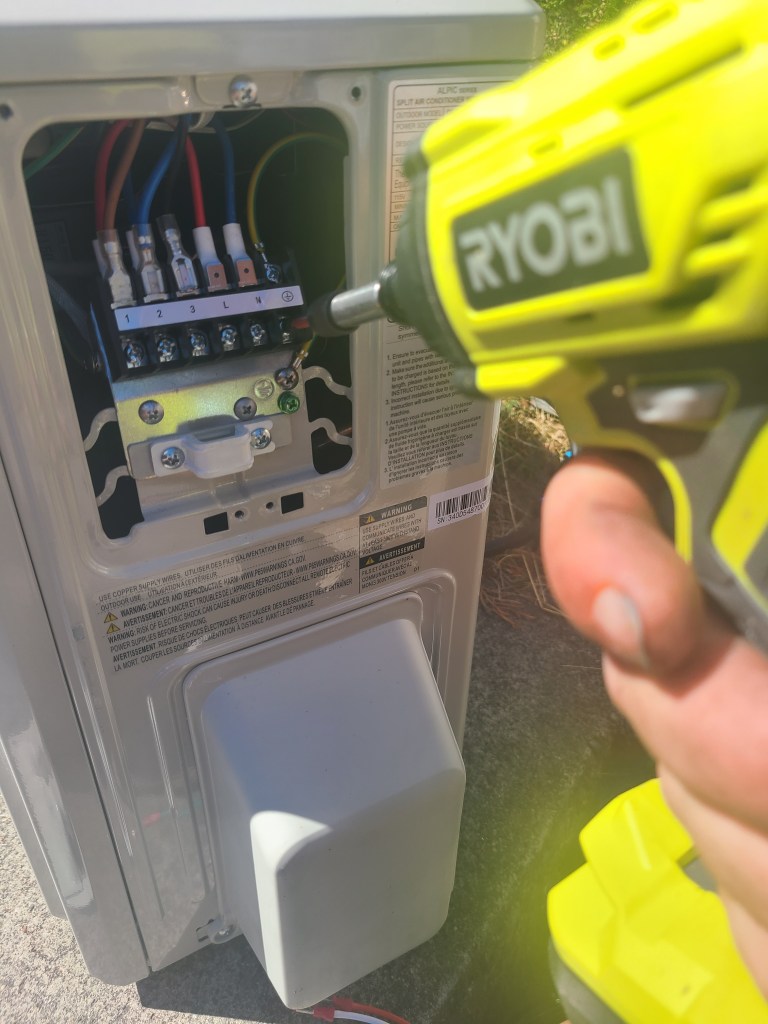
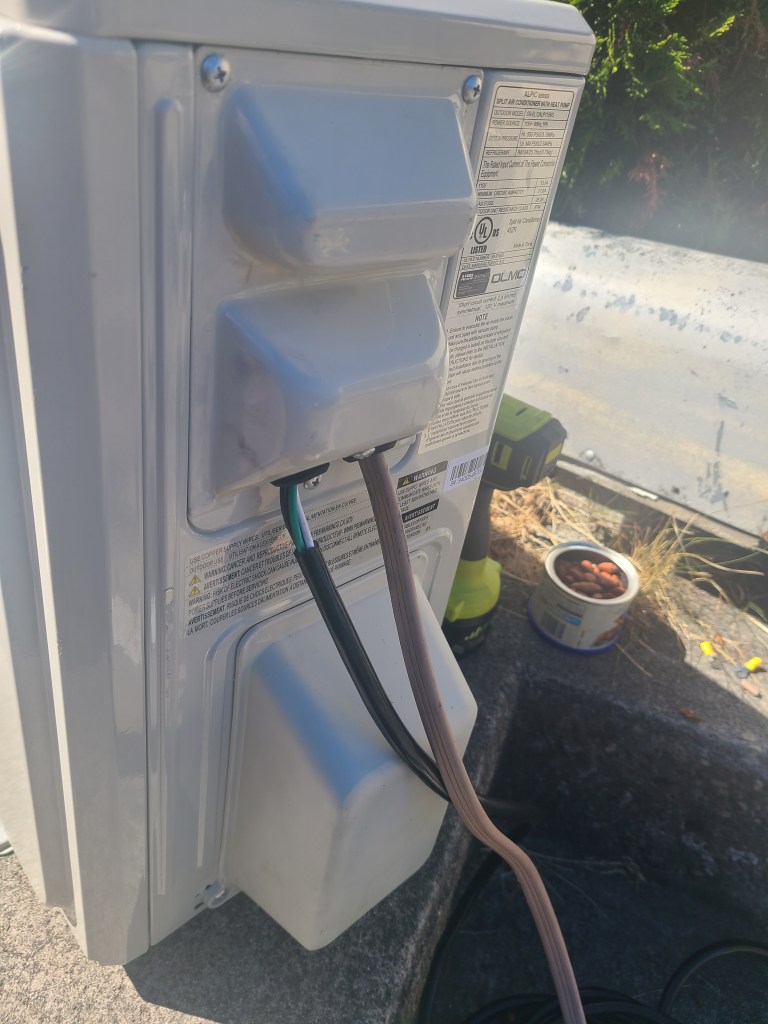
This was a job and a half. While it can be a DIY project, you need mechanical skills, experience working with electricity and general understanding of how the system works. Patience while your wife/significant other makes suggestions helps. And if you have to start over and do it again – well, a good attitude and a fridge full of cold cola helps! These units are made for a residential installation so the nuts and bolts supplied may not be the same size you need. We had to use our own 120 volt power cord, we happened to have a short one in the garage we could use so didn’t have to purchase a new one. We had to make our own mounting bracket. If you are installing the condenser in the generator box, be sure you have high quality drill bits and saw blades.
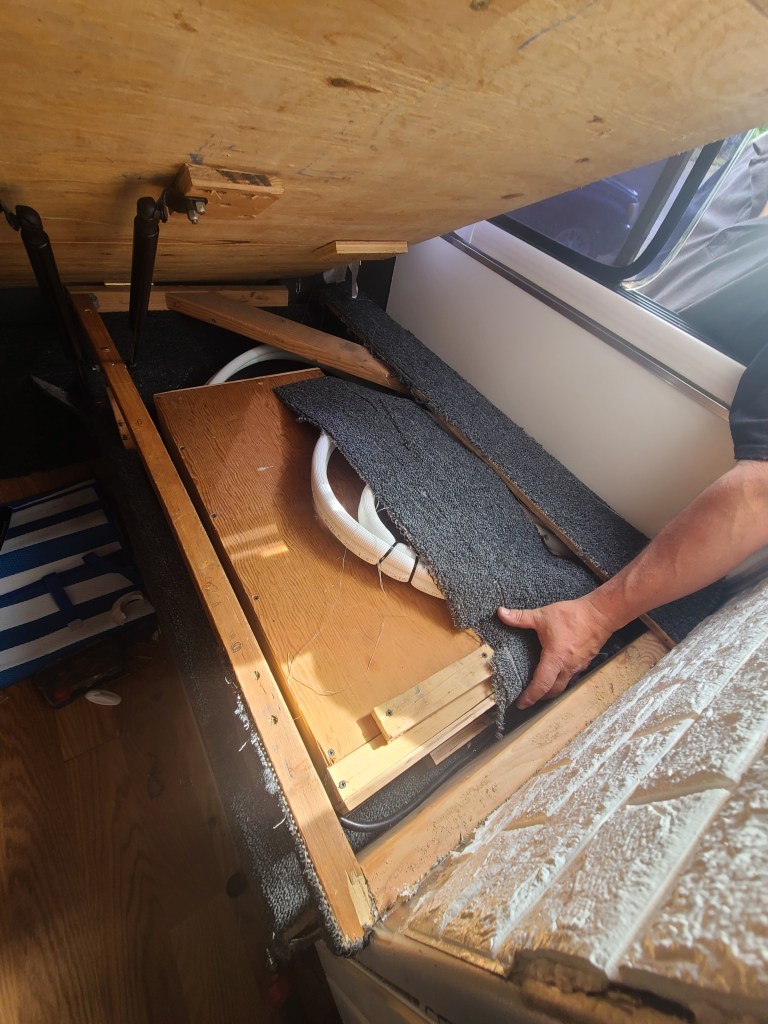
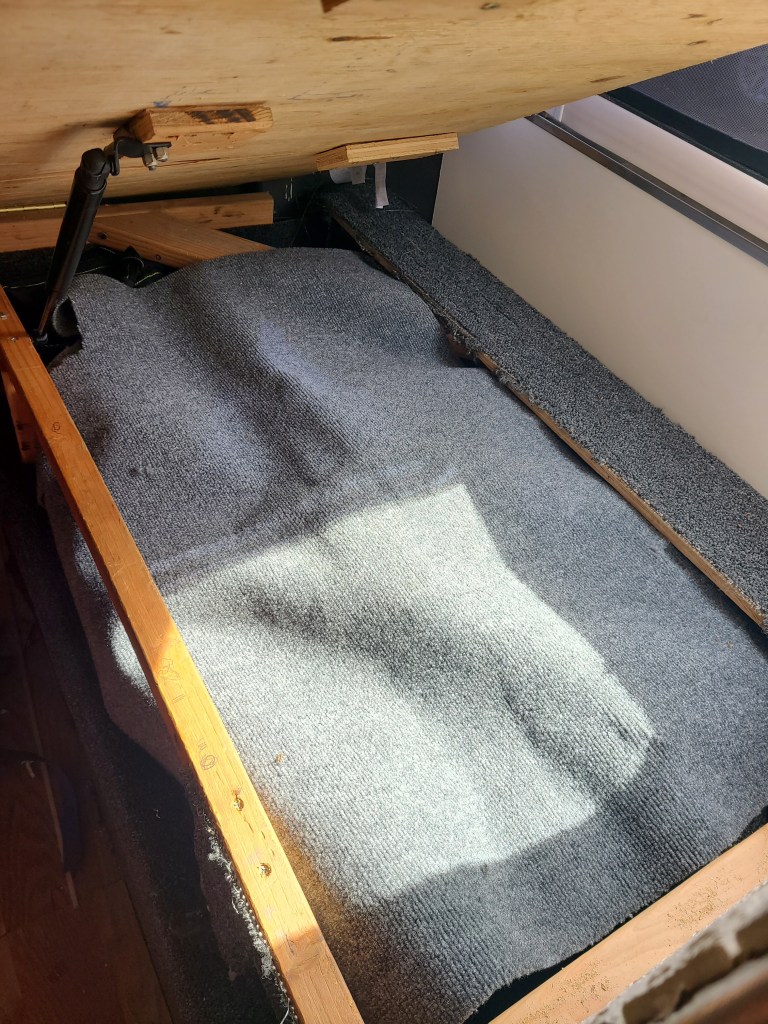
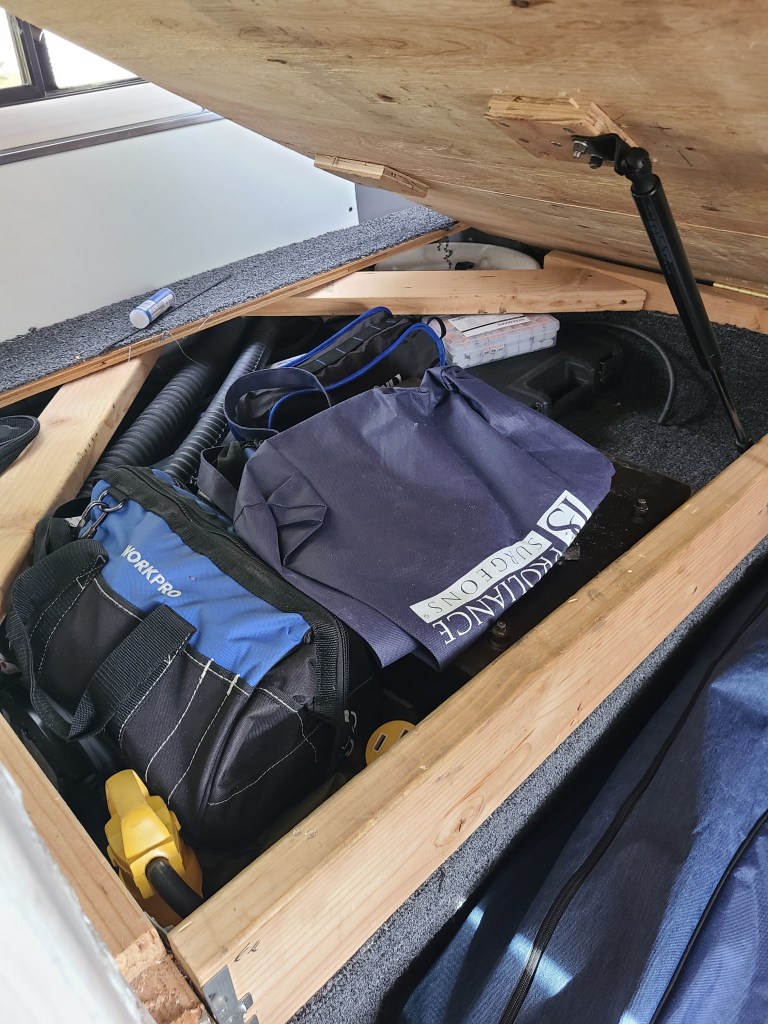
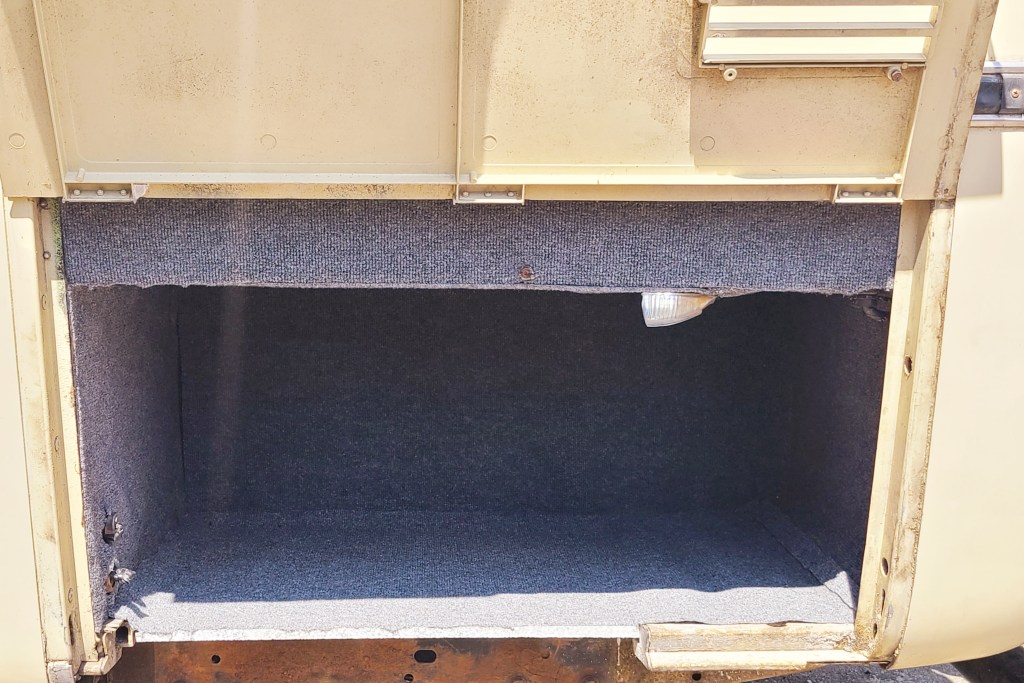
He built a removable lid to cover the condenser for ease of access if we need to work on it and we covered the hoses, loosely, with a carpet remnant. We will be putting the blackout shade back up, as soon as we find where one of the brackets ran off to, and will make a fabric sleeve to loosely cover the hoses. After a good number of hours the mini split is installed and everything is back where it belongs. We will be removing the roof ac unit soon and replacing it with a simple skylight.
The volume isn’t muted on this last video – this is how quietly it runs. This isn’t a tutorial post but we hope it gives someone an idea of one option to install a new system themselves. If you have questions, please comment and we will answer to the best of our ability.
#gmcmotorhome #eleganza2 #livefortoday #planfortomorrow #homeiswhereyouparkit #retirementplanning #glamping #minsisplit #airconditioner #condenser #diy #patienceiskey #mechanical

Very nice. I look forward to hearing how it does in real life. Particularly interested in the cooling affect up in the drivers deck and living area in the hot summertime. Hard to imagine it’ll be enough.
LikeLiked by 1 person
We will be continuing to post about it as the years go by, first test will be keeping it toasty this winter.
LikeLike